
Wednesday, December 25, 2013
Monday, December 23, 2013
Water Bottle Braze-ons on a Downtube
Adding water bottle braze-ons on a down-tube
.JPG)

.JPG)
.JPG)
.JPG)
.JPG)
.JPG)
.JPG)
.jpg)
Mounted and fully functional. Now on to the seat tube.
Saturday, December 21, 2013
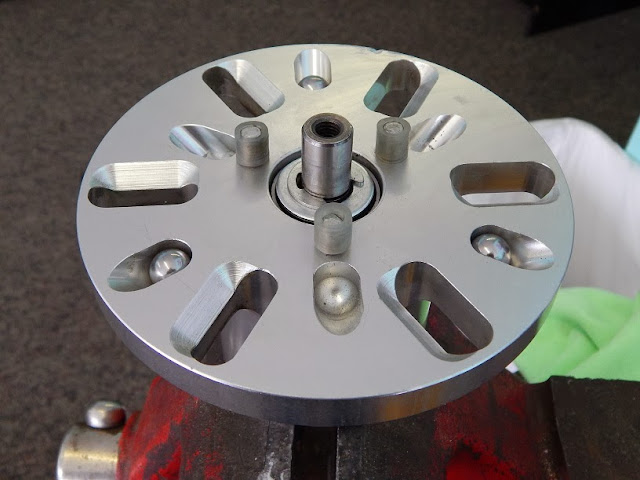
Marzocchi Bomber Z2 Atom Sport Rebuild
The Marzocchi Bomber Z2 Atom Sport Rebuild


Sunday, December 8, 2013
The Blackburn Ultra Trackstand Fix
Do you have a $250, Blackburn, Ultra Trackstand that is locking up and binding? I've got the fix.

It used to work flawlessly for a long time, then at the end of last season it start locking up and binding like a lot of people have reported. It's a shame because of all he trainers I've ridden over the years, It's the closest thing to a road feel I've felt. It's got resistance, but because of the heavy flywheel, it's got a long spin down.
 The problem is those 3 clear pieces of tubing they are using for bushings. They get soft over time, either because of heat, or oil; probably both.

Once they get soft, they don't allow the friction plate to slide the way it should. I've tried greasing and oiling them with many different types of lubrication. The problem is the material is too soft, so they need to be replaced.
 Replaced by these bronze bushings. The plastic bushings measure close to .25" inside diameter x .440" outside diameter. Fractionally that works out close to 1/4" x 7/16". I wasn't able to find that spec at the hardware store, only 1/4" x 3/8". The outside diameter is 1/16" undersized which works out fine because we want it to be a little loose so things slide. You only need 2 because the bushing only need to be 1/2" long.

1/4" was a little tight, and they didn't slide loose. A little work with a rotary file chucked in my hand drill does the trick.

The bushings are longer than the plastic ones, but for me the plate fits over just fine, and once assembled the trainer worked good as new. The bushing ran $3 a piece, so for a $6 investment as well as a 1 hour time I've got my trainer back in action.

It used to work flawlessly for a long time, then at the end of last season it start locking up and binding like a lot of people have reported. It's a shame because of all he trainers I've ridden over the years, It's the closest thing to a road feel I've felt. It's got resistance, but because of the heavy flywheel, it's got a long spin down.


Once they get soft, they don't allow the friction plate to slide the way it should. I've tried greasing and oiling them with many different types of lubrication. The problem is the material is too soft, so they need to be replaced.


1/4" was a little tight, and they didn't slide loose. A little work with a rotary file chucked in my hand drill does the trick.

The bushings are longer than the plastic ones, but for me the plate fits over just fine, and once assembled the trainer worked good as new. The bushing ran $3 a piece, so for a $6 investment as well as a 1 hour time I've got my trainer back in action.
Thursday, December 5, 2013
Brake Maintenance
Time to replace the brake shoes?
 As you can see there are some aluminum splinters from the rims, and some pitting from road debris embedded in these brake pads. Sometimes you can clean it out, but in this case I'm just going to replace the pads. Not only does the aluminum and road debris erode your brake performance, but they dig and grind grooves into the face of the rim's braking surface further eroding brake performance both mechanically, as well as the feed back you get. You get better feed back when the pads rub the rim, rather than grinding the rim.
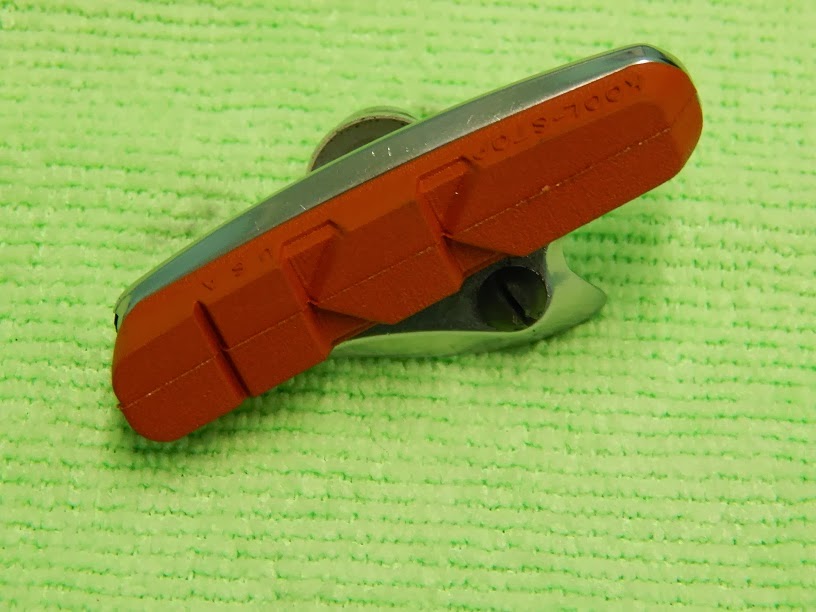
 There are many different kinds of brake pads out there. I like the Kool Stop Salmon pads. They are recommended for wet weather, but you can use them on all conditions. I don't know anybody that changes brake pads before they go ride in wet weather, so why not always be prepared for the worst conditions? Not only are they aggressive, they also have a special tip that cleans the rim of debris.

Ahhhhh Happy Brake Pads!

Next grab some 0000 steel wool to clean the rim face.
 The 0000 works the best. The wool is fine enough to get into all the little grooves to clean them out. I use steel wool because it's a non-chemical means to clean the rims so I don't leave any chemical residues. If the rim is bad enough use some soap and water first, then finish with 0000 steel wool.
 As you can see the left side is dirty, and the right side is cleaned. When you work the steel wool on the rim it will start grabbing with it is clean. It's a good idea to add cleaning your rims into your maintenance schedule. It will reduce buildup and well as any take the edge off any grooves that my develop.
 Also I'd like to mention some rims have wear indictors. That's hole is not a blemish. Once the rim's braking surface wears down so the hole is gone, or close to it, then it's time to think about some new rims or wheels. Well....Happy Breaking!


Ahhhhh Happy Brake Pads!

Next grab some 0000 steel wool to clean the rim face.


Subscribe to:
Posts (Atom)